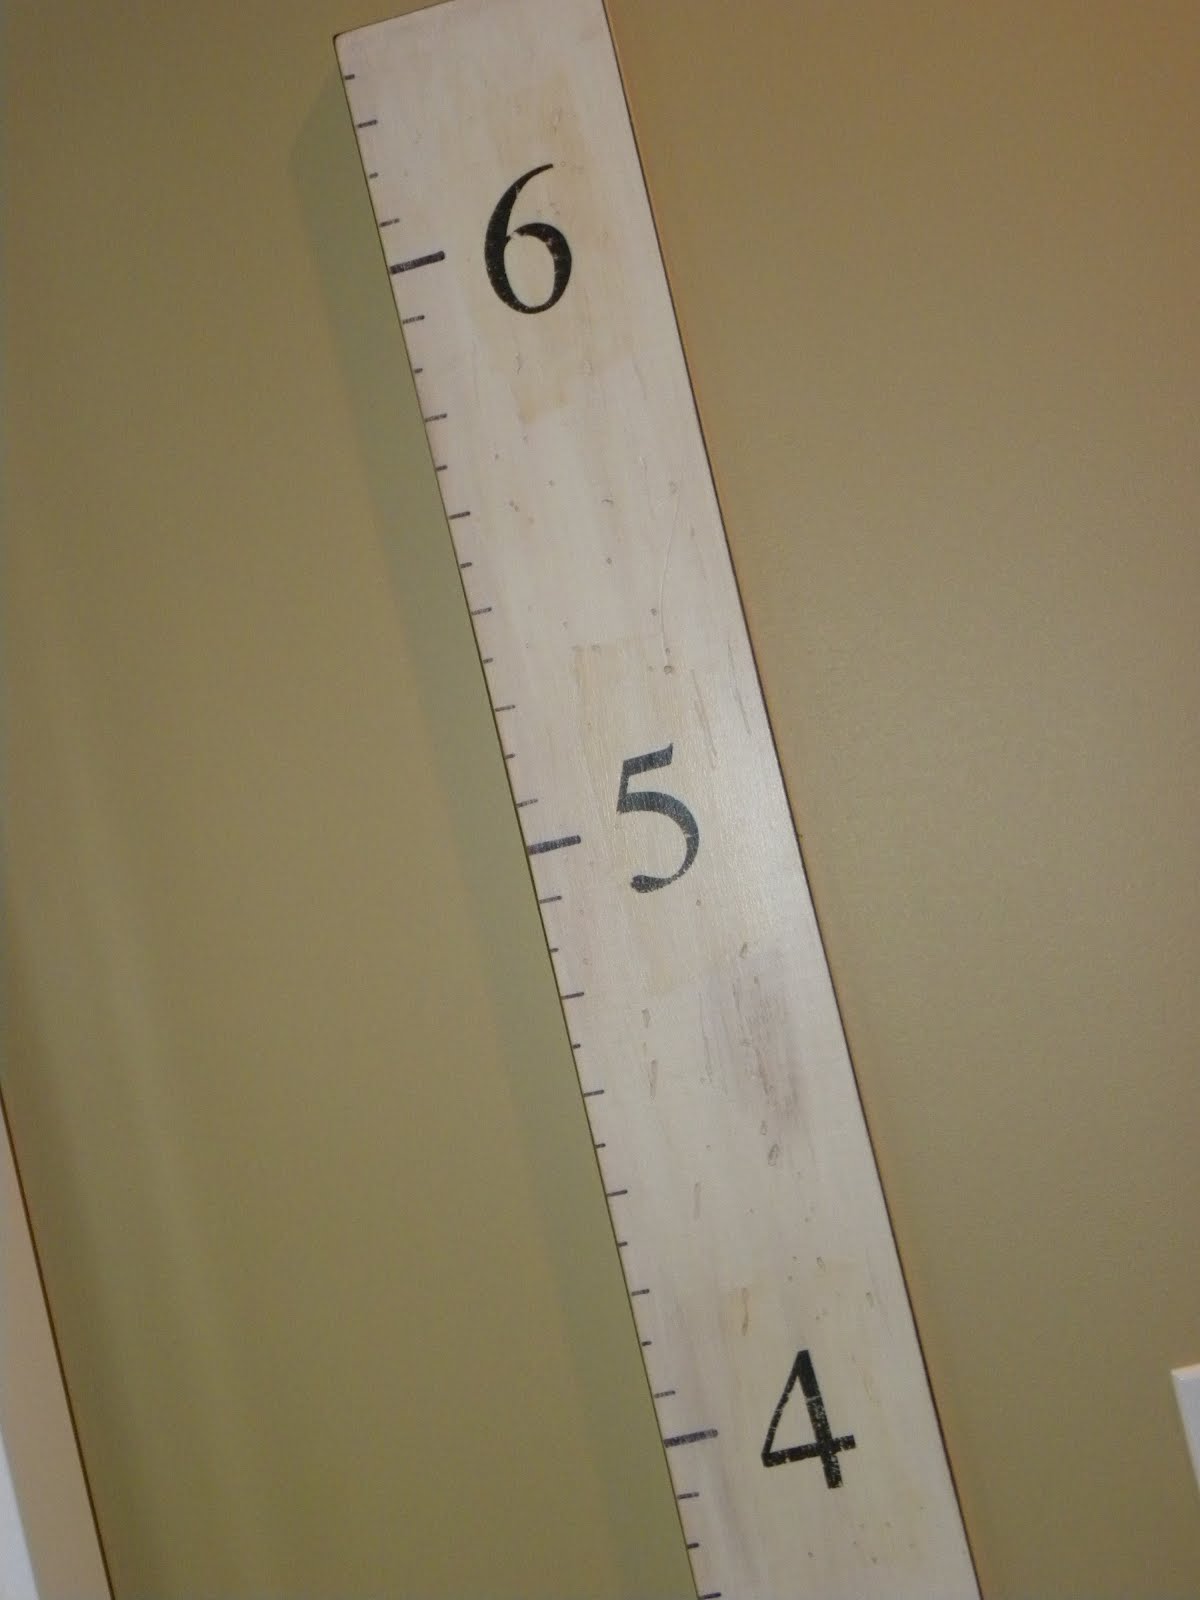
 A while back I found a really cute growth chart at my favorite store, Pottery Barn. It was 6 feet long and shaped like a ruler and was perfect for our home. Unfortunately I just couldn't get past the price tag. I don't remember exactly, but I think it was between $80-$99. Ouch. So, when we had the laundry room painted and our painter covered over the kids' height marks, I decided it was time to finally get around making one for our house! I didn't take step by step photos, but the process was the same as our family name plaque. (Only on a much bigger scale!) The only thing you need to remember is to see how high your base molding is, then add an inch or so and start your growth chart at that point. Our base molding was 4 1/2 inches, so I added a 1/2 inch and started the bottom at inch number 5. That way you can hang it high enough to clear the molding and none of your foot markers are at the top or bottom of the chart.
 Check out the results!

 And the best part? Mine only cost $6 for the piece of wood. Everything else I already had on hand. The paint was leftover from one of our bathrooms, the tissue was ironed out from a Christmas gift, (yes, you really can iron tissue paper. Lowest heat possible and no steam, works great!) and the inks, modpodge, and marker were all things I already had in my stash. I even had the hanging bracket for the back! I made sure to record all the kids' heights from the laundry room before our painter covered them over, so I'll add them back in and we'll have a family keepsake that will be around for decades to come. Lord willing, our grandkids will be on there someday!
What a great project! Love it! Just hope they all don't reach the top too soon.
ReplyDeleteLooks great!
ReplyDeleteYou are so awesome!! Very cute!
ReplyDeleteThis is adorable! I can't wait to make this!
ReplyDeleteFantastic idea!
ReplyDeleteAwesome! I will have to make ours 6ft 6inches since I have 4 boys & my husband is 6ft 4inches! lol Can't wait since this can be moved with us. I have done one in every house so far and took pictures, now I can have a permanent one that can move everywhere! (paper ones don't last, even laminated) Thanks soo much! :o)
ReplyDeleteAbsolutely love it! I've been looking at the one from Pottery Barn as well and just couldn't justfiy spending the money either. I can't wait to make this. It's perfect. Just one question... What was the dimensions of the wood you used?
ReplyDeleteIt was a 6' board from Lowes, I didn't even cut it!
ReplyDeleteWhat kind of bracket did you use to hang it? Our Lowes had 1/2 thick boards and I can't figure out how to get a secure hold strong enough and short enough at the same time.
ReplyDeleteI bought a package of the sawtooth hangers that just pound straight into the board. Works great!
ReplyDeleteI love this!
ReplyDeleteI have had this page bookmarked for awhile but am just now getting around to make it.
May I ask you how you made the inch lines?
Can I just use a sharpie or will it bleed into the painted wood?
Or should I print out a bunch on the tissue paper and modge podge them on like the numbers?
Thanks in advance for any advice!!
Hi there! I did use a sharpie marker and ruler and didn't have any problems with it bleeding. I would suggest using one with a good tip on it so you get crisp lines. Good luck! Thanks for reading!
Delete