Tuesday, July 31, 2012

Sewing Room Makeover!

When we moved into our house a little over two years ago, I spent all my efforts decorating every room.  I didn't rest until everything was put in order, walls were painted, pictures hung, and every pillow properly fluffed.  I stood back and sighed with contentment at the finished product.  Then five minutes after the I finished the kids used the pillows and blankets for a fort and I was back in reality.  Ha.  The craft room however, was a room that I never did anything to.  It was functional, it was mine, and it was BORING.  Here I am in a room that I am supposed to be creative in, and I had white walls, no decorations, (other than two displaced paintings that the boys did and no longer matched the new house and a purple sharpie scribble that Mistress thoughtfully added one day when I left a marker at kid level) and was generally a catch all for everything that needed to get out of the way when company was on it's way.  It needed help, and since I had an entire week where all the kids were in summer camp, (you might think I planed it that way) I decided to use the time to make over my creative space!

Here's the before.  Stuff everywhere, half finished projects, white walls, and no personality.
 I started with paint.  I decided on "Mystic Sea" by Valspar, which was a sea blue color.  It was exactly what I was looking for!  Also, DH got me a gallon of the two in one primer and paint which promised a one coat coverage.  For the most part, their claims held true!  I did have to go back and touch up a bit, but all in all I did one coat!
 And here's the after!  For starters, I cleaned.  Ha.  I also took the opportunity to go through everything and purge my stashes, after cleaning out some of the old stamping supplies I actually made about half of what I spent on the makeover.  I didn't get rid of anything crazy either, just some brads and decorative add ons that I never liked, and a few other miscellaneous things that didn't get used all that often.  (If ever!)  If there's one thing I've learned, it's that if you haven't used it in 2-3 years, you probably won't!
 Some of the details:  I framed a couple of bag fronts from fabric stores that I have visited, and I have a couple of extra frames for future places!
 Thread racks are a necessity in a sewing room, but I thought that framing them with some open frames would add a sweet decorative touch.  I love the way that it turned out!

 My amazing awesome wonderful fabulous neighbor moved a couple of months ago and asked me if I wanted these for storage.  Um, yes please!  I added a few extra fabric bins from Target and all of my stuff is now organized within an inch of it's life, plus I have a ton of extra space for future growth!
 There's another storage cube from the above mentioned neighbor, I use it for all my paper crafting supplies.  The storage above the cutting board is used for all the rotary cutters and scissors.  Not only are they right in reach for me, they are OUT of the reach of a certain little scissor addicted terror.
I traded in my plastic garbage can for this wicker hamper I found on clearance at Lowe's.  Much more stylish than the white plastic garbage can for storing rolls of fabric!
 And while this is not something that I made over, this is one of the best parts of my sewing room, the view into our backyard!  It's beautiful all year long, but we are close to the best time of the year when all the leaves change to vibrant colors. 
 

So there you have it!  One week, about $100, and I have a sewing room that I can really enjoy.  I can feel the creative juices flowing already, just not sure I'm ready to make a mess in there yet!

Friday, July 6, 2012

Another Refinishing Project!

I have decided that in addition to being frugal, I am also a glutton for punishment.  How else could you possibly describe someone who decides to refinish a dresser in the garage, in the middle of summer in South Carolina?  Anyway, I found this dresser on a local classifieds page for $30 and couldn't NOT get it for our guest room.  While it was definitely an older piece in need of some TLC, it was also solid wood, a good size, and had ample storage for our guest room.  And did I mention that it was $30?  Plus it was right up the street.  Bonus!

Here it is, in all it's pre-refinish glory.  Ugly old knobs, water marks on the top, and just kind of sad looking.  (Go ahead, be impressed that I remembered a 'before' photo.)
 Here I am mid-project.  It was at this point I was cursing the whole process and wondering why I didn't just go to Ikea...
 And then, after a coat of primer, two coats of paint, fresh stain on the top, and some new knobs, I was thrilled with the outcome.  I'm loving the way it turned out, and I finished in time for some of our besties to come for a visit!  In total, besides the $30 for the dresser itself, I spent $25 on new knobs and about $20 on paint, stain, and polyurethane for a grand total of $75.  Not bad for a brand new dresser!
And now you see why I've been MIA for a while.
Well, that and I was at the beach.  ;)

Thursday, June 28, 2012

Lest You Think I've been Eating BonBons...

We've been spending a ton of time outside this summer, so far it hasn't been overly hot (although that's ending this week, 106 tomorrow!) and so I've taken advantage of the weather to keep my garden going.

As you can see, it's doing fairly well!
 This is my lettuce.  My lettuce was doing great, until the day after this photo when it was shriveled and brown.  It has revived itself however, and is now doing well.  I think it's bi-polar.
 While not as prolific, this mix of lettuce will still make a great salad!
The onions are doing great, I just need to thin them a bit!
 Then there's the beans.  Does anyone need any?  I've given them out to all my immediate neighbors, plus I still have a ton left.  Perhaps next year 4-6 plants will suffice...


The tomatoes were doing great, until the deer decided to snack on them.  
If anyone would like to hunt in my backyard I'm good with that...

Saturday, May 26, 2012

Wine Cork Garden Markers

I like wine and I have a problem throwing away wine corks.  I'm not sure why, but I just can't seem to pitch them in the trash can after opening a bottle.  In my dining room I have three large vases, one with red wine corks, one with white, and one with champagne corks.  My jars have gotten full so now I have a large bag full of them up in my craft room.  I keep finding all these cool cork projects on Pinterest and since I have a plethora of corks I decided to try a few of them out.  Today, I made some markers for my garden using a few!

Super simple, and they didn't take more than a few minutes.  I used wooden skewers that I have been collecting out of my kids' Earth Fare meals for the last few weeks (Kids eat free every Thursday, up to SIX kids meals with a $5 adult purchase.  Love.) and the old corks that I have, (free, and free) and wrote the names of everything that I am growing this year and in less than five minutes had some really cute markers for my veggies!
 I can almost taste the zucchini bread now...
 I love these little onion sprouts, can't wait to use them in a stir fry or salad!
 LOVE my garden, and love that I can grow organic veggies so easily.  There's something great about heading out into my backyard to pick dinner!  I would have chickens if I could, but our HOA frowns on them...
In a couple of months this lettuce will make a great salad for dinner!  Yum!

Tuesday, May 22, 2012

Yay Free!!!

A couple of days ago, our neighbors (who are sadly moving, but happily not far away) offered me some cube storage that they weren't taking with them.  I happily accepted and am in the process of reorganizing my craft room!  I'm hoping to have a few photos up in a couple of days to show you.  I have the BEST neighbors!

Monday, May 21, 2012

A Crayon Container

I love it when a normally throw away type of thing inspires me!  A while ago I made this juice and realized that the container that was left would be perfect for something, I just wasn't sure what.  So I tossed it in my "figure out a use for it" basket and let it sit for a little while.  A few days ago I realized exactly what I was going to use it for...a travel crayon container!  Not only would it keep the crayons from getting crunched in a bag, but it also fits conveniently in a car seat cup holder.  Since we do a lot of traveling in the summer, I knew that it would definitely come in handy!

I started off measuring the size of the container and cutting a piece of scrapbook paper that I had in my stash to fit.  Then I mod podged it in place.  I also added some cutouts from a coordinating piece of paper and a circle for the lid.  Modpodge over the whole thing and we had a crayon container!
 Voila!  One finished container.  And again, the best part was that it was totally free!  I had all the supplies on hand already and the juice was even free.  I bought it with a coupon!
 Super simple and free.  Doesn't get much better!


Thursday, May 17, 2012

Something Out of Nothing

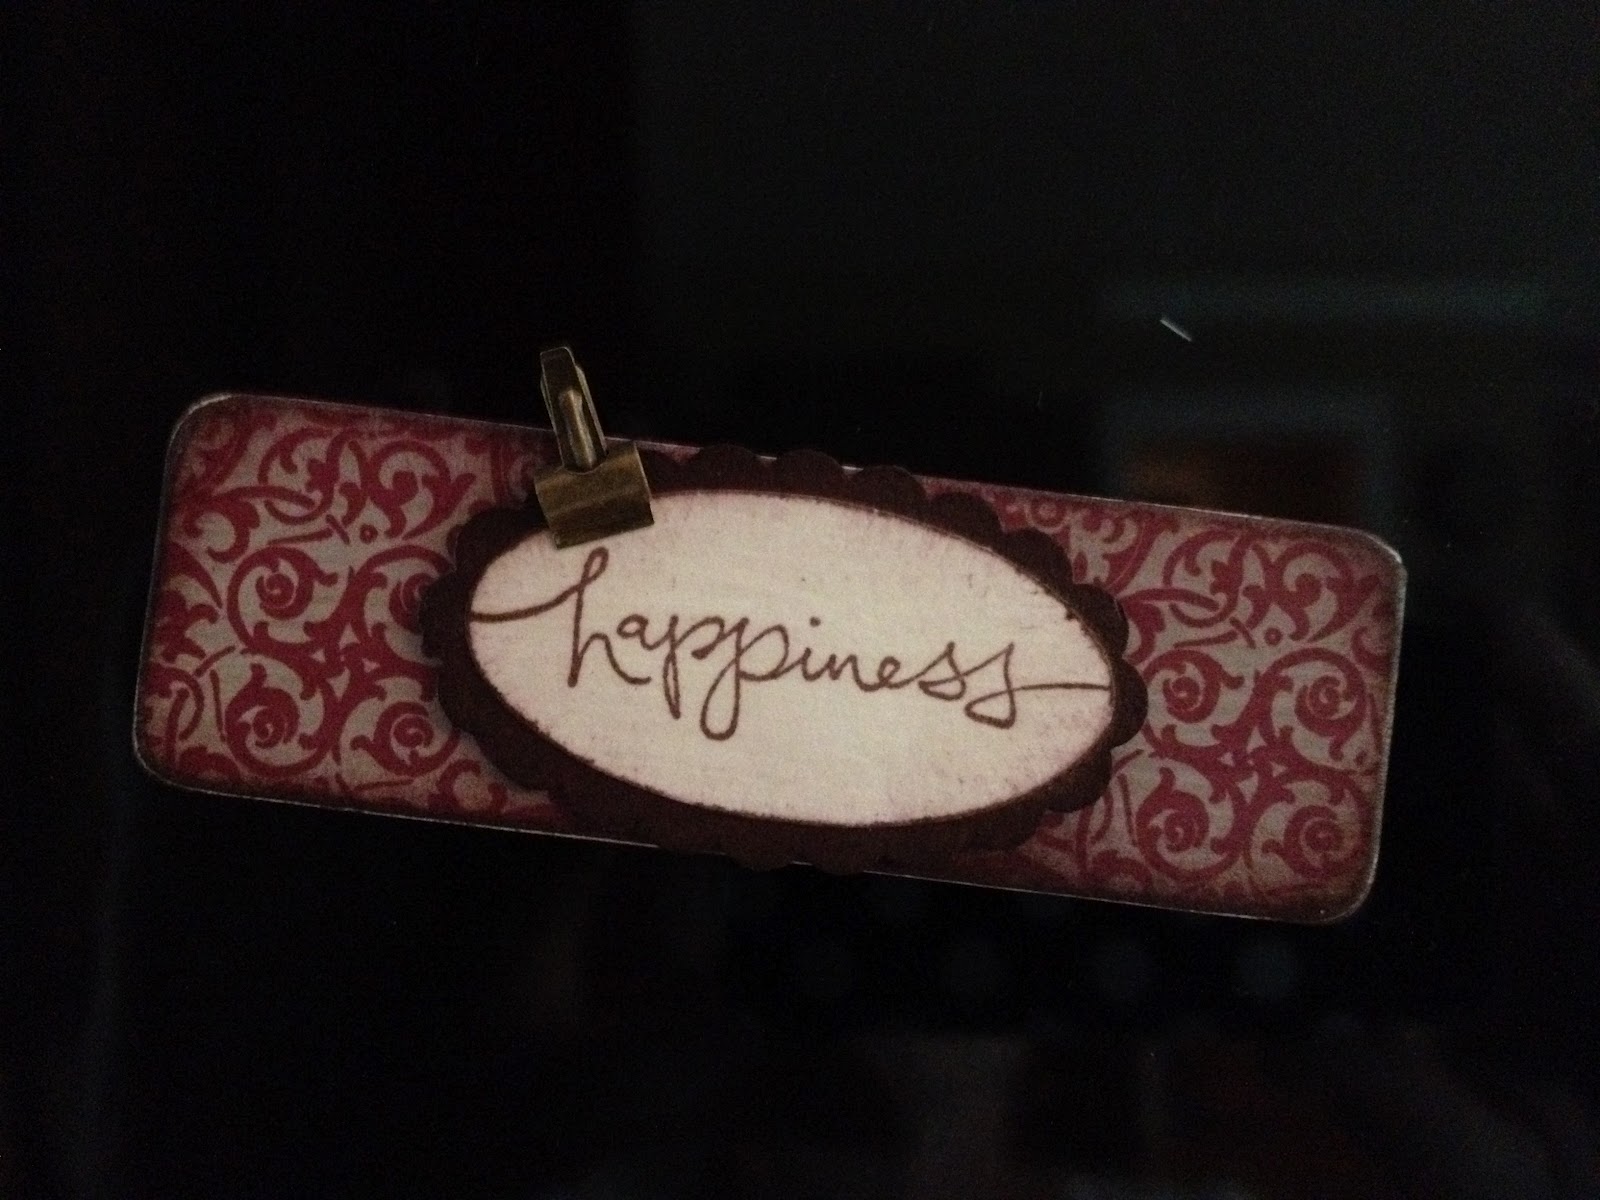
A while ago I got a magnet with some razor blades that I bought.  It was a nice magnet in terms of durability, magnetic hold, and size, but it wasn't exactly a magnet that I really wanted to display.  So, I got out my paper crafting supplies and got busy, and in less than 10 minutes had transformed it into a cute little magnet that I'm happy to have on my fridge!


I started with some simple supplies that I had on hand.  Since my kitchen has a lot of red and brown I picked these papers and card stocks.  I also pulled a couple of punches, a stamp, and a little clip embellishment.
 I started off by using mod podge to put the paper on and cut it down to fit the magnet after I had glued it on.  Then I sanded the edges and distressed with a little brown ink.
 
 Next I used my 'happiness' stamp and the punches and made this little oval tag.  I used the brown ink to distress the edges.
 Then I mod podged both pieces and let them dry.
 Finally I added some little dimensional foam stickies to the back of the oval to make it pop off the magnet a bit, clipped on the little clip, and had myself a little magnet!  And the best part is that it was FREE!!!  I love making things for the house, but the 'free' part makes it that much better!