Showing posts with label Kid Central. Show all posts

Thursday, March 14, 2013

A Quick Hat Rack for an Army Room!

After making over the Professor's room for his birthday, I had one piece of board leftover from the shelves that I didn't want to go to waste.  The professor has a TON of hats in his collection and they didn't have a home, so I decided that the best use for the last board was to make him a hat rack!  Even if you include the cost of the board ($5ish) all I needed was 2 packages of hooks ($3 each) the same container of free sample paint, a stencil for the lettering ($2) and a black sharpie marker.  I cut the board down a tiny bit, freehanded with the stencil, attached the brackets, and added two hanging brackets on the back (that I saved from some artwork we bought so they too were free) and we had a hat rack that was LITERALLY the hit of the room.
 I hung it below the shelving above his bed and he's good to go!
One hat rack for about $10.  A great way to use up leftovers and make a 9 year old VERY happy!

Sunday, January 27, 2013

A Birthday Boy Room Re-Do

The Professor is going to be having a birthday in the near future, and being a very grown up boy of nearly nine means that he wanted a more grown up room.  So for his birthday, he asked to have his room re-done in a military theme.  I was on board with this because I knew we could do it for a reasonable amount of money and without an insane amount of work.  These are all from my cell phone, so excuse the quality of the photography, but you'll get the idea!

Before:  Light blue walls, a group of star wars posters and a madras quilt bedding from Pottery Barn Kids.  Not a bad look, but definitely not military. 
After:  We painted the walls an army green color, (a compromise from the cammo walls that he wanted...) purchased a new quilt and sham from Pottery Barn Kids (using a bunch of rewards points so really negligible cost to us) and changed out the lamp shades. I also purchased six shelf brackets at $5 apiece from Lowes and two six foot pine boards at $8 each.  I had them cut in half at Lowes and painted them with a free sample of brown paint I had lying around.  Total cost for the shelves, $46, but I also had a half board left over.  (Project to come soon!)  They were then decorated with military themed items that he already owned.
Before:  More green and blue, cool car painting, and an absolute mess.  (To be fair, that probably won't change much!  He is, after all, a boy)

After: New lampshade and really cool artwork.  I got the poster online for about $15 and the frame at Hobby Lobby with a 40% off coupon.  I also got a tin ammo box at HL and filled it with all the small trinkets lying around on his dresser.

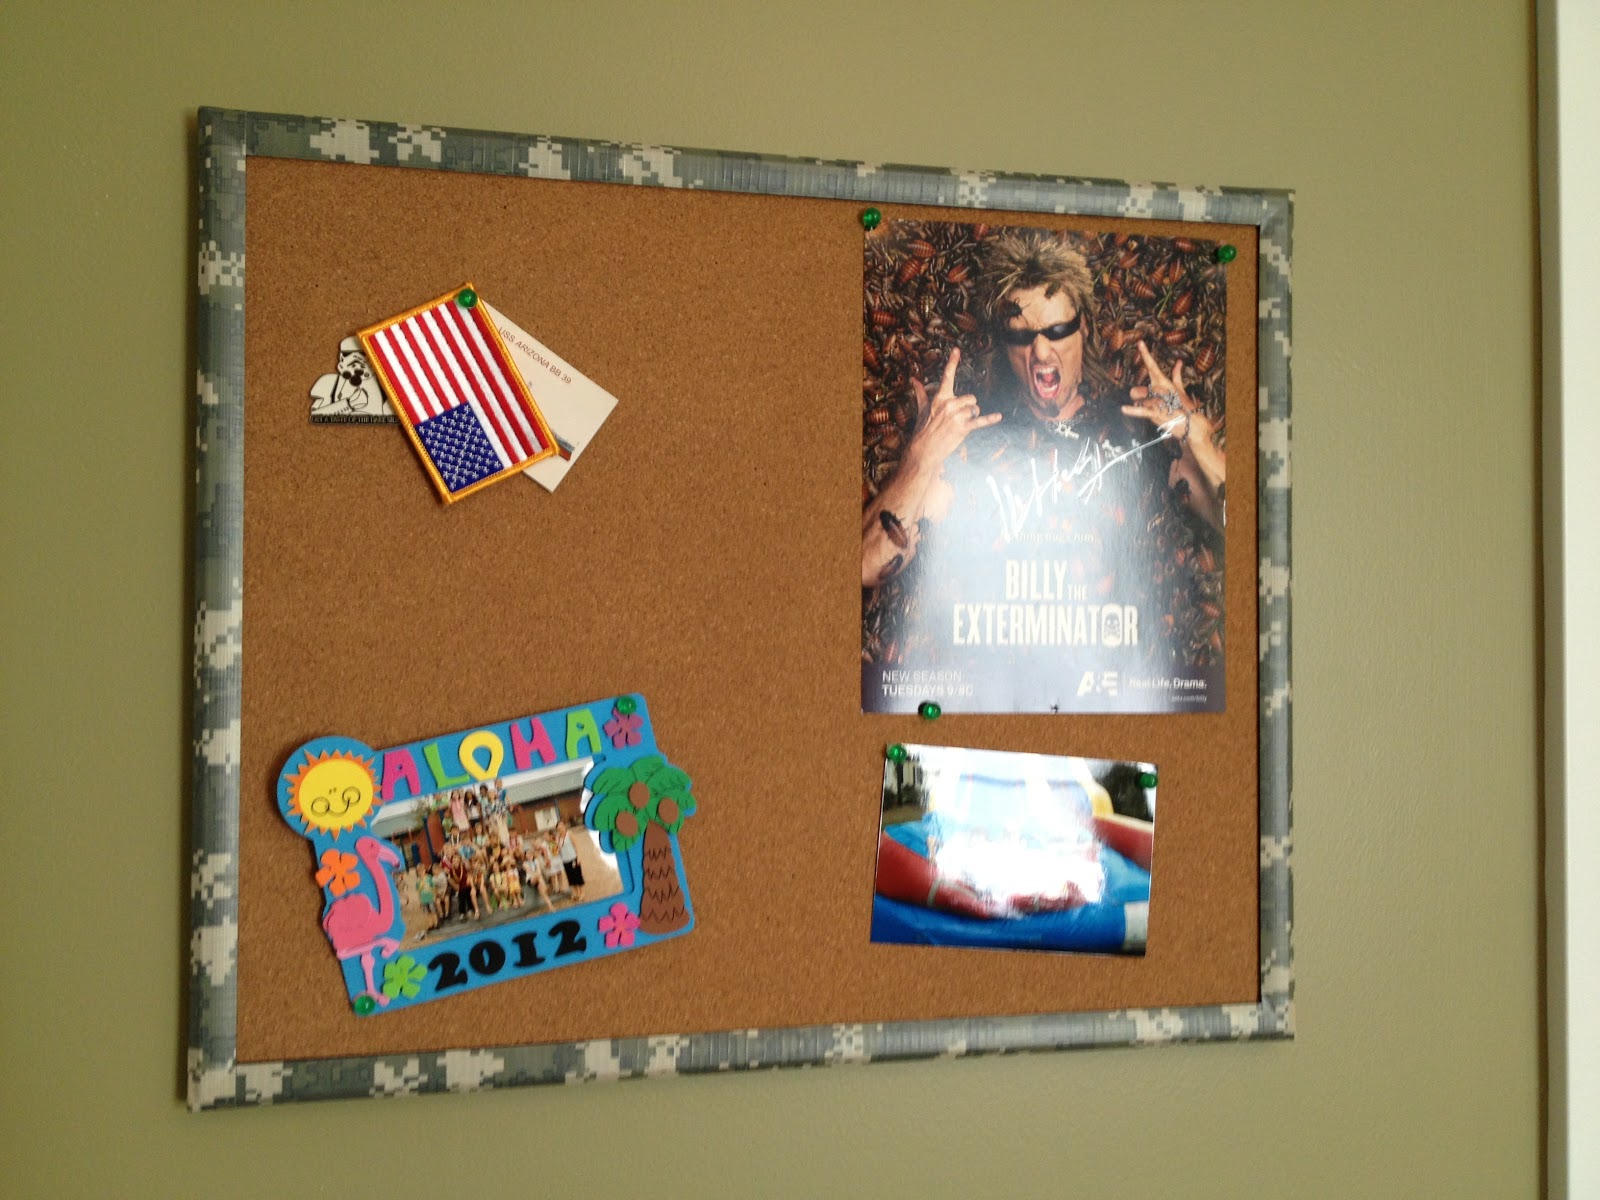
 And finally, I took his plain black bulletin board and covered the frame with cammo duct tape!  Super easy and only took me about 5 minutes.

 And there you have it!  While I still have one more military themed project up my sleeve for the near future, this was a quick room re-do that should last him well into his teens.  At least, that's the plan...


Thursday, September 20, 2012

Good Clean Fun

To begin with, (speaking from experience) this is a great project to do BEFORE you have cleaned your bathroom and NOT after.  'Kay?  

This little activity is nothing new, but it was something that I discovered had unintended but beneficial side effects.  My kids LOVE to play with baking soda and vinegar.  They love watching it bubble up and fizz and I love that their "experimenting" is completely safe.  I used to give them the baking soda to play with on a cookie sheet but quickly discovered that it didn't stay there, so in a stroke of genius I decided one day to pull the drain on the sink in the bathroom, fill it with baking soda, and let them play in there.  When I was finished I would just wash it all down the drain and be done, no huge messy clean up needed!
 What I discovered was that after this play time not only were my sinks clean, but also they drained a lot better!  I knew that baking soda and vinegar were good for cleaning and I knew that you could use them to clear a drain, but I didn't know that kids' fun could result in something being cleaner at the end than it was in the beginning.  Score one for Mommy!
 So now whenever I have a slow drain I dump some baking soda, pour some vinegar, and let the kids have at it.  But they don't know that they are cleaning so shhhh....

Monday, May 21, 2012

A Crayon Container

I love it when a normally throw away type of thing inspires me!  A while ago I made this juice and realized that the container that was left would be perfect for something, I just wasn't sure what.  So I tossed it in my "figure out a use for it" basket and let it sit for a little while.  A few days ago I realized exactly what I was going to use it for...a travel crayon container!  Not only would it keep the crayons from getting crunched in a bag, but it also fits conveniently in a car seat cup holder.  Since we do a lot of traveling in the summer, I knew that it would definitely come in handy!

I started off measuring the size of the container and cutting a piece of scrapbook paper that I had in my stash to fit.  Then I mod podged it in place.  I also added some cutouts from a coordinating piece of paper and a circle for the lid.  Modpodge over the whole thing and we had a crayon container!
 Voila!  One finished container.  And again, the best part was that it was totally free!  I had all the supplies on hand already and the juice was even free.  I bought it with a coupon!
 Super simple and free.  Doesn't get much better!


Thursday, May 10, 2012

A Little Gift

As promised, I got back to the craft room this week!

Mistress has been invited to a birthday party this weekend for one of her friends, and even though the invitation said "no gifts please," I couldn't not take anything!  I decided that "no gifts" actually meant "don't spend any money" and raided my stash to make a quick little gift for a special girl.  I used one of my favorite patterns, the Jean doll from Bit of Whimsy Dolls and added an apron to her and in about an hour and a half had this girl all finished and ready to go to her new owner this weekend.
So, one project done, 873 left in the wings...

Friday, January 27, 2012

20 Minute Curtains

I wanted to do a little something on the windows for Mistress's room, but really didn't want to put up curtains or toppers. We love the moldings around our windows, and don't want to cover them up. When we first moved in here we tried some curtain toppers in her room that matched her bedding and I hated them when I got them up! So they came down and went back to the store. I had resigned myself to having bare windows when I came up with this super simple, inexpensive, and easy way to add a bit of color and whimsy to her room.

I bought 1/2 yard each of three different colors of fabric, and pulled two from my stash. FYI, 1/2 yard was WAY too much. I only ended up needing about 3 triangles of each color, so I have tons left over. Anyway, I spent about $5 on fabric, and another $2 on 3/8 inch white ribbon. I cut a bunch of triangles using a paper triangle that I had made for a pattern. Make sure to use a pinking rotary blade or pinking shears so your fabric doesn't fray.
Then I just stitched the triangles in random patterns to the ribbon and stitched a loop at each end. A few small tack nails in the top of the molding where the holes won't be seen if they are removed and I had an inexpensive solution for curtains!
These would be great in a boy's room as well with boy colors, or in a playroom in bright primary colors. The possibilities are endless! I actually first made these several months ago for the baby shower that I helped throw, and they would be great for decor for any party you could imagine.
And here's the full effect! I love the color that it adds, and am happy with how much impact a simple little project can have. Be impressed that her room is clean, I cleaned it this afternoon and then banished all the kids to the outdoors. It was 65 and sunny here today, way too nice to be inside!

Sunday, January 22, 2012

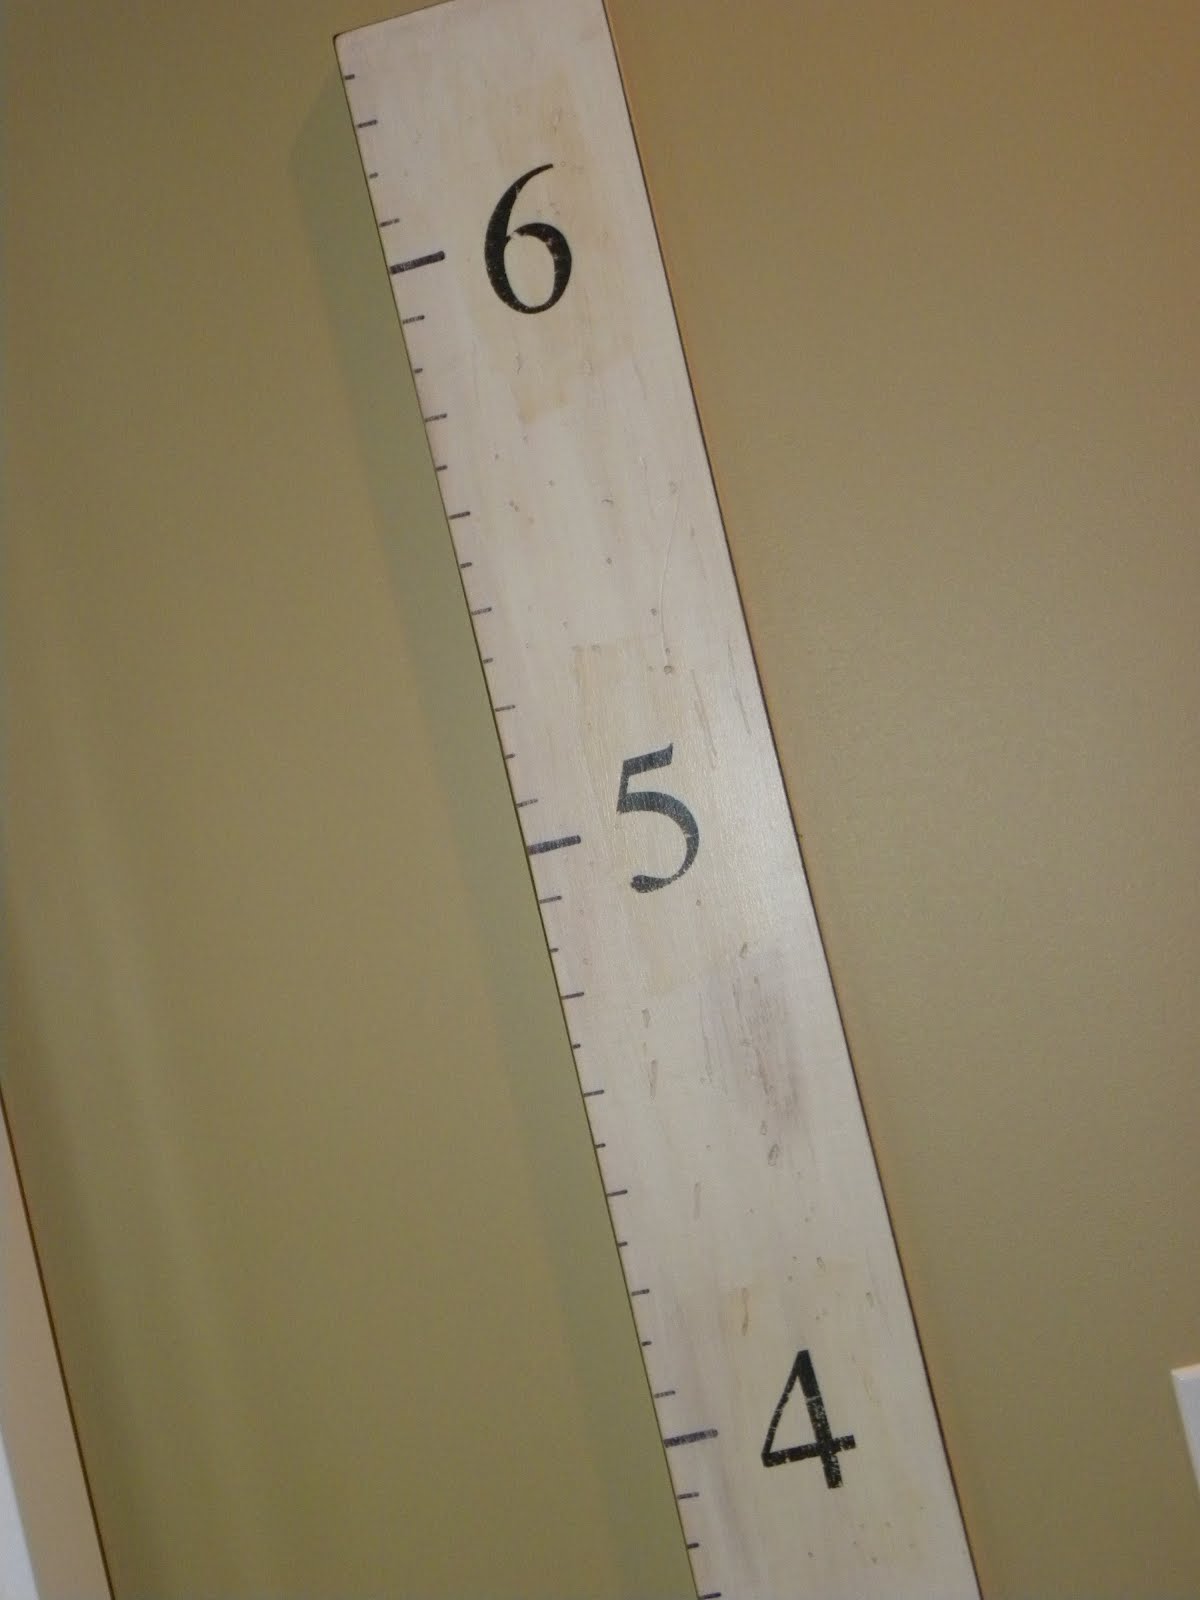
Growth Chart

A while back I found a really cute growth chart at my favorite store, Pottery Barn. It was 6 feet long and shaped like a ruler and was perfect for our home. Unfortunately I just couldn't get past the price tag. I don't remember exactly, but I think it was between $80-$99. Ouch. So, when we had the laundry room painted and our painter covered over the kids' height marks, I decided it was time to finally get around making one for our house! I didn't take step by step photos, but the process was the same as our family name plaque. (Only on a much bigger scale!) The only thing you need to remember is to see how high your base molding is, then add an inch or so and start your growth chart at that point. Our base molding was 4 1/2 inches, so I added a 1/2 inch and started the bottom at inch number 5. That way you can hang it high enough to clear the molding and none of your foot markers are at the top or bottom of the chart.
Check out the results!


And the best part? Mine only cost $6 for the piece of wood. Everything else I already had on hand. The paint was leftover from one of our bathrooms, the tissue was ironed out from a Christmas gift, (yes, you really can iron tissue paper. Lowest heat possible and no steam, works great!) and the inks, modpodge, and marker were all things I already had in my stash. I even had the hanging bracket for the back! I made sure to record all the kids' heights from the laundry room before our painter covered them over, so I'll add them back in and we'll have a family keepsake that will be around for decades to come. Lord willing, our grandkids will be on there someday!

Tuesday, January 10, 2012

Closet Organization

Happy New Year!!! I may be a little late, but I have a good excuse; I have been systematically organizing each and every room in our house. Every cupboard, drawer, closet, nook, and cranny in the entire house. It's taken me a while, but Goodwill has gotten a ton of stuff out of my way, the trash man hates me, and finally I see a light at the end of the tunnel. I love organizing. Seriously. I'm one of those crazy people who gets as excited about a trip to the container store as a child gets going to Disneyland. I love the feeling of accomplishment when I finish cleaning something and it's all neat and tidy, which is probably why I banned my kids from their rooms today. I wanted them to stay clean for a day. Kidding. Anyway, one of the areas of our house that was bugging me was the kids' closets. They are nice and large and have tons of space, but were completely poorly designed with a standard wire shelf across the top and nothing else.

See all the wasted space?
And do you see WHY we needed more storage space in the closets?
So I went to one of my favorite stores, Ikea, and bought each boy one of these bookcases for their closet. I liked them because they were really sturdy and durable and offered plenty of space for all those toys that were laying around the room. I used four bins for each kiddo that were given to us by a neighbor and organized the smaller things into them while keeping the top cubbies for larger toys. The best part is that I can rearrange as needed as they continue to grow. They could also be combined someday to make a larger wall unit. Very versatile!
And now I can breathe easy, knowing that my boys will be organized. For at least an hour...

Thursday, December 22, 2011

The Ninth Day of Christmas Crafts: A Simple Knotted Blanket

Every year, I like to make my kiddos each at least one present. This year I decided that they each needed a special blanket from Mommy, so I set out to buy each one a fleece print that matched their interests and personality. Mistress got a pink and purple Rapunzel blanket, The Professor (who is ALL boy) got an army green and camouflage print, and Buggy got a Scooby Doo print backed in yellow. These blankets are super easy, (albeit time consuming, so I'm glad I only have to do three!)

First, I got two yards each of two fleeces. One of the print, and one solid coordinating color. This particular blanket is Buggy's. (His favorite color is yellow.) Trim the selvage off the edges and straighten the cut ends. Then lay the whole thing out so you can work without moving it. Also, pay no attention to the messy sewing room, 'kay?
I LOVE this fringe ruler, it makes the whole process so much easier. I don't remember how much I paid for it, but you can get them at places like JoAnn's. Just line up the edge of the fabric with the length of the fringe you want to cut. I do 3 inches.

When you get to the corners, cut out an equal amount to the fringe length that you are doing. In this case, I cut a 3 inch square out of each corner.
Then start tying your fringe in knots. I would suggest some music at this point, it helps the process move along. Make sure that you don't get the fringe mixed up or you may miss one. That's why I suggest laying the whole thing out and not moving it. Also, the sides will stretch when you tie them. I haven't figured out a way around this...
By removing the corner you get a nice finished look. I would suggest music.
And in about an hour you have a nice finished cozy blanket. Here's hoping that my kiddos will love their presents!

Monday, December 19, 2011

The Seventh Day of Christmas Crafts: A North Pole Breakfast

I love having my kids home from school for Christmas Break! I make every effort possible to have all the prep work done for Christmas before they are out for the break, and we have two weeks of fun! I found the cutest idea for a special breakfast here, but decided that instead of having it on the day after Thanksgiving I would save it for the first Monday of Christmas break. We invited a few friends over and had breakfast in our jammies, the Moms too!

I got fun Santa plates and cups and wrote the names on the cups for each kiddo. Fun story, I had the table all set and put the three candles in the center. It lacked something, but I couldn't find anything around the house to put with it. I had pretty much given up when our doorbell rang. It was the FedEx man dropping off a package from DH's company. The present was packed in shredded green, red, and gold crinkle paper! I gleefully finished off the table about 10 minutes before everyone arrived. Talk about perfect timing!
My last minute crinkle paper! Perfect touch, no?
The one day I break my objection to paper plates. :)
Even our elf, Fred Pequeno, dropped by for breakfast!

And what better breakfast to serve than reindeer pancakes? These were a hit with the kids!
All in all a fun Monday morning. Hopefully this will become an annual tradition!

The Sixth Day of Christmas Crafts: Cloth Lunchbox Napkins

Have you ever noticed that going green goes hand in hand with being frugal? Going green saves green in a ton of ways, we have a drawer full of plastic containers that I use in the kids' reusable lunch boxes, so I never need to buy lunch bags and almost never need to use plastic baggies when packing their lunches. We have reusable juice boxes that get washed at the end of the day instead of individual (and expensive) prepackaged juice. Another way that we have gone green in our house was by replacing our paper napkins with cloth. Recently I decided to take it a step further and make cloth napkins for their lunch boxes! I found fabric to coordinate with their boxes and in about 20 minutes had two napkins to use in Mistress's lunch box.

I used two half yards of fabric that coordinated with each other. Cut two 18" squares from each fabric and put one of each right sides together. Pin around the edges.
Starting at the bottom, stitch around the edges 1/4 inch in, leaving about 4 inches open to turn it right side out.
Turn right side out, making sure to use a point turner in your corners, press. Pin the opening closed and press the hem in place.
Press flat.
Now top stitch around the edge, making sure to stitch the opening closed.
Pull your threads through, tie them off, and weave them in. If you need a refresher on how to weave threads in, check out my tutorial here.
Press again, and fold.
And now Mistress has two napkins to use for lunch. They are easily washable, and will pay for themselves in a short amount of time! I still have four more to make, and my kids will be the envy of all their friends at lunch!