Showing posts with label Tutorials. Show all posts

Thursday, September 20, 2012

Good Clean Fun

To begin with, (speaking from experience) this is a great project to do BEFORE you have cleaned your bathroom and NOT after.  'Kay?  

This little activity is nothing new, but it was something that I discovered had unintended but beneficial side effects.  My kids LOVE to play with baking soda and vinegar.  They love watching it bubble up and fizz and I love that their "experimenting" is completely safe.  I used to give them the baking soda to play with on a cookie sheet but quickly discovered that it didn't stay there, so in a stroke of genius I decided one day to pull the drain on the sink in the bathroom, fill it with baking soda, and let them play in there.  When I was finished I would just wash it all down the drain and be done, no huge messy clean up needed!
 What I discovered was that after this play time not only were my sinks clean, but also they drained a lot better!  I knew that baking soda and vinegar were good for cleaning and I knew that you could use them to clear a drain, but I didn't know that kids' fun could result in something being cleaner at the end than it was in the beginning.  Score one for Mommy!
 So now whenever I have a slow drain I dump some baking soda, pour some vinegar, and let the kids have at it.  But they don't know that they are cleaning so shhhh....

Monday, May 21, 2012

A Crayon Container

I love it when a normally throw away type of thing inspires me!  A while ago I made this juice and realized that the container that was left would be perfect for something, I just wasn't sure what.  So I tossed it in my "figure out a use for it" basket and let it sit for a little while.  A few days ago I realized exactly what I was going to use it for...a travel crayon container!  Not only would it keep the crayons from getting crunched in a bag, but it also fits conveniently in a car seat cup holder.  Since we do a lot of traveling in the summer, I knew that it would definitely come in handy!

I started off measuring the size of the container and cutting a piece of scrapbook paper that I had in my stash to fit.  Then I mod podged it in place.  I also added some cutouts from a coordinating piece of paper and a circle for the lid.  Modpodge over the whole thing and we had a crayon container!
 Voila!  One finished container.  And again, the best part was that it was totally free!  I had all the supplies on hand already and the juice was even free.  I bought it with a coupon!
 Super simple and free.  Doesn't get much better!


Thursday, May 17, 2012

Something Out of Nothing

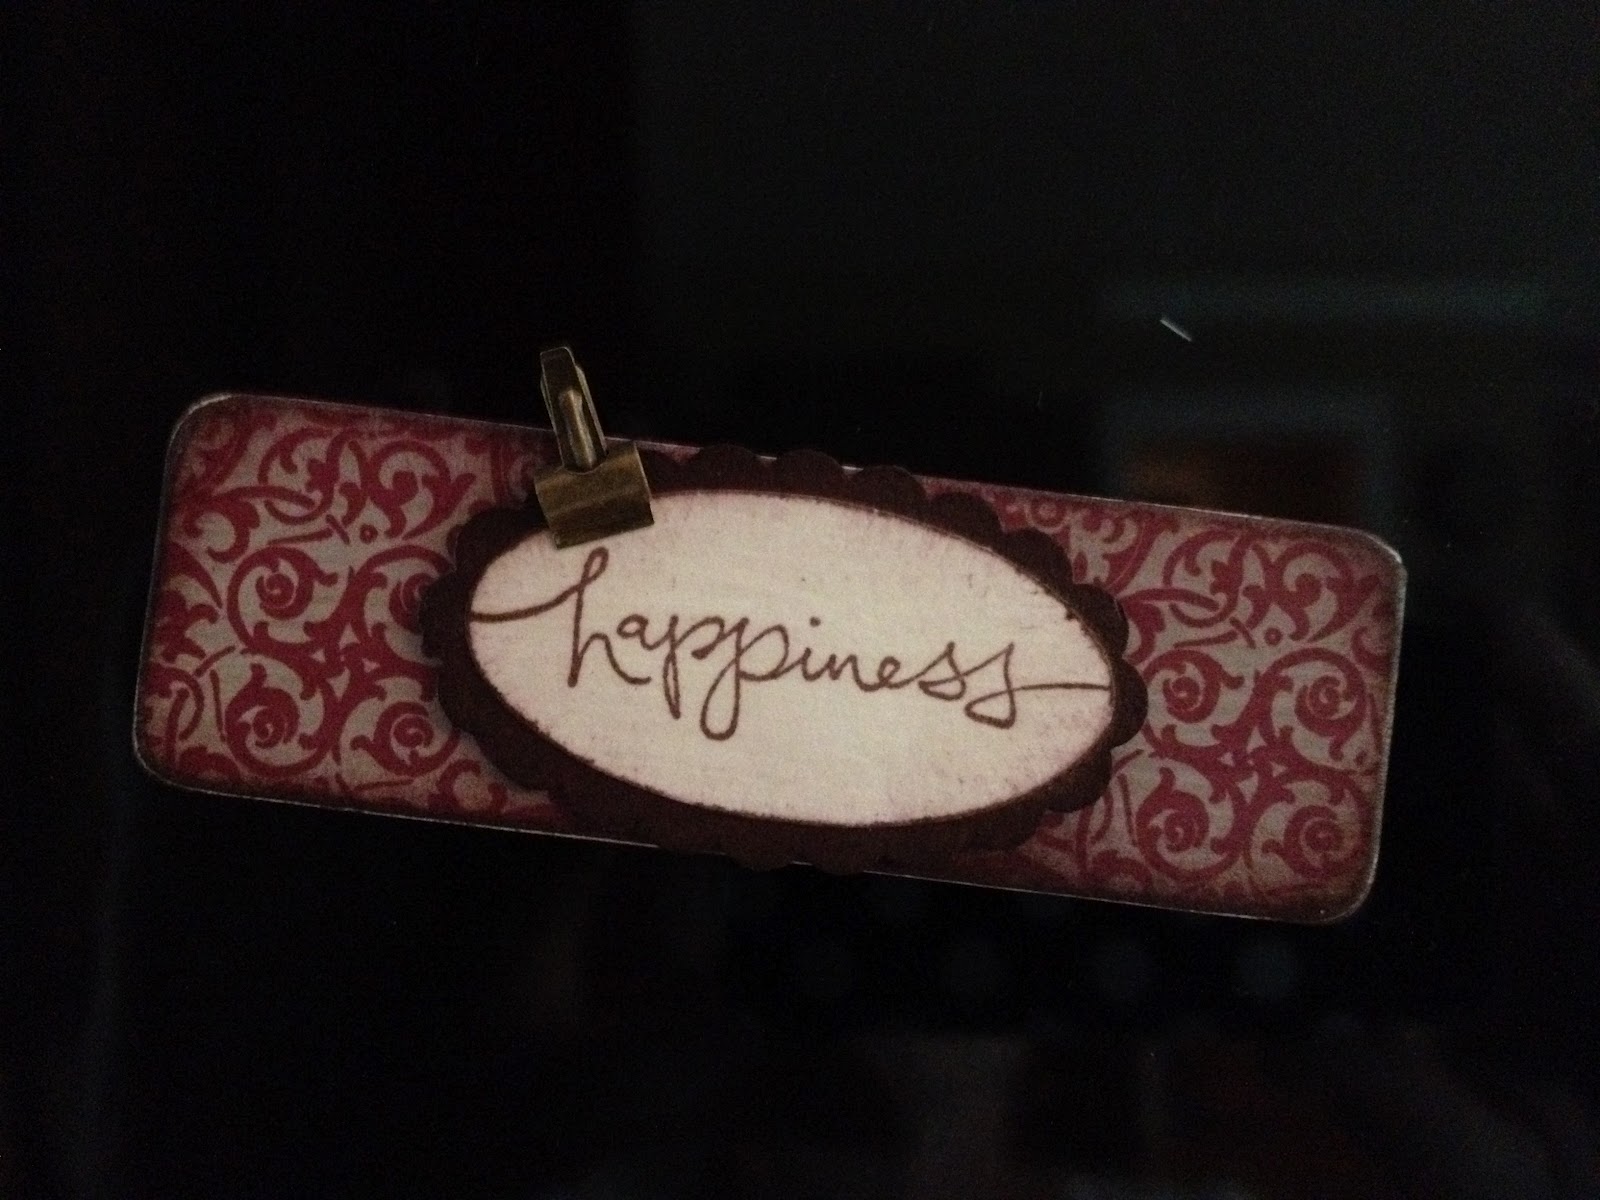
A while ago I got a magnet with some razor blades that I bought.  It was a nice magnet in terms of durability, magnetic hold, and size, but it wasn't exactly a magnet that I really wanted to display.  So, I got out my paper crafting supplies and got busy, and in less than 10 minutes had transformed it into a cute little magnet that I'm happy to have on my fridge!


I started with some simple supplies that I had on hand.  Since my kitchen has a lot of red and brown I picked these papers and card stocks.  I also pulled a couple of punches, a stamp, and a little clip embellishment.
 I started off by using mod podge to put the paper on and cut it down to fit the magnet after I had glued it on.  Then I sanded the edges and distressed with a little brown ink.
 
 Next I used my 'happiness' stamp and the punches and made this little oval tag.  I used the brown ink to distress the edges.
 Then I mod podged both pieces and let them dry.
 Finally I added some little dimensional foam stickies to the back of the oval to make it pop off the magnet a bit, clipped on the little clip, and had myself a little magnet!  And the best part is that it was FREE!!!  I love making things for the house, but the 'free' part makes it that much better!


Thursday, December 22, 2011

The Ninth Day of Christmas Crafts: A Simple Knotted Blanket

Every year, I like to make my kiddos each at least one present. This year I decided that they each needed a special blanket from Mommy, so I set out to buy each one a fleece print that matched their interests and personality. Mistress got a pink and purple Rapunzel blanket, The Professor (who is ALL boy) got an army green and camouflage print, and Buggy got a Scooby Doo print backed in yellow. These blankets are super easy, (albeit time consuming, so I'm glad I only have to do three!)

First, I got two yards each of two fleeces. One of the print, and one solid coordinating color. This particular blanket is Buggy's. (His favorite color is yellow.) Trim the selvage off the edges and straighten the cut ends. Then lay the whole thing out so you can work without moving it. Also, pay no attention to the messy sewing room, 'kay?
I LOVE this fringe ruler, it makes the whole process so much easier. I don't remember how much I paid for it, but you can get them at places like JoAnn's. Just line up the edge of the fabric with the length of the fringe you want to cut. I do 3 inches.

When you get to the corners, cut out an equal amount to the fringe length that you are doing. In this case, I cut a 3 inch square out of each corner.
Then start tying your fringe in knots. I would suggest some music at this point, it helps the process move along. Make sure that you don't get the fringe mixed up or you may miss one. That's why I suggest laying the whole thing out and not moving it. Also, the sides will stretch when you tie them. I haven't figured out a way around this...
By removing the corner you get a nice finished look. I would suggest music.
And in about an hour you have a nice finished cozy blanket. Here's hoping that my kiddos will love their presents!

Monday, December 19, 2011

The Sixth Day of Christmas Crafts: Cloth Lunchbox Napkins

Have you ever noticed that going green goes hand in hand with being frugal? Going green saves green in a ton of ways, we have a drawer full of plastic containers that I use in the kids' reusable lunch boxes, so I never need to buy lunch bags and almost never need to use plastic baggies when packing their lunches. We have reusable juice boxes that get washed at the end of the day instead of individual (and expensive) prepackaged juice. Another way that we have gone green in our house was by replacing our paper napkins with cloth. Recently I decided to take it a step further and make cloth napkins for their lunch boxes! I found fabric to coordinate with their boxes and in about 20 minutes had two napkins to use in Mistress's lunch box.

I used two half yards of fabric that coordinated with each other. Cut two 18" squares from each fabric and put one of each right sides together. Pin around the edges.
Starting at the bottom, stitch around the edges 1/4 inch in, leaving about 4 inches open to turn it right side out.
Turn right side out, making sure to use a point turner in your corners, press. Pin the opening closed and press the hem in place.
Press flat.
Now top stitch around the edge, making sure to stitch the opening closed.
Pull your threads through, tie them off, and weave them in. If you need a refresher on how to weave threads in, check out my tutorial here.
Press again, and fold.
And now Mistress has two napkins to use for lunch. They are easily washable, and will pay for themselves in a short amount of time! I still have four more to make, and my kids will be the envy of all their friends at lunch!

Wednesday, November 30, 2011

Amping up Garland

We've all seen those amazing garlands from high end stores that cost in excess of $50. Absolutely gorgeous, but really, who wants to pay that much for something that will sit in storage 11 months out of the year? I figured that with a little ingenuity I could make something that worked just as well without blowing the budget. Personally, I think it works just as well, read to the end and decide for yourself!

The supplies: One 9' evergreen garland from Michaels, $2.49 and one 6' holly garland, $6.49 on sale. I always start with the evergreen and choose fluffy accent to go with it. Today it just happens to be holly! Lay your evergreen garland out and fold it in half. Twist in several places to secure and fluff the entire way down.
Lay your accent garland on top of the fluffed evergreen. Work your way down twisting the evergreen in several places to secure.
By working the accent garland down into the fluffed evergreen you will hide the chain and make it more natural looking.
Twisted like a twist tie. Re-fluff and you won't notice the twist.
All finished! See how full it looks?
You could add lights as well, but as this one was going on my chandelier I didn't. If you add lights, do it before you add the accent garland so that the wires are hidden.
So what do you think? Not bad for $9 huh? Happy Holidays!

Wednesday, November 23, 2011

Cinnamon Apples

Ever since I was a little girl, my Nana would make her cinnamon apples for Thanksgiving and Christmas. Not only were they good on their own, they did a fantastic job of chasing away the taste of squash, which we hated but always had to eat at least one bite of it. (And no, despite claims to the contrary, I never learned to like it.) As a child it was a true treat to eat these cinnamony little treats, and when my Nana died my mother took over making them. Fast forward five years and we move several states away, so if my kids (who love them as much as I do) wanted to be able to eat them for the holidays we don't make it back north, I would have to be the one to make them. Truth be told they are really easy, albeit a little time consuming, so I thought I'd share the recipe with you!

Nana's Cinnamon Apples

1c. cinnamon imperial candies
2 1/3 c. boiling water
8 apples, halved or quartered and peeled
1/3 c. sugar

Begin by pouring the candies into a saucepan.
Next pour your boiling water over the candies. Turn the heat on (medium-high) and stir to complete the melting process.
Begin to poach your peeled apples in the liquid. My mom and Nana always did halves, I do quarters. It's easier to cut them that way! Cook in small portions at a time until the apple begins to get fork tender and the red color darkens. You don't want to be able to make applesauce with these, they should hold their shape.
Remove each batch as they are done and place in a heat resistant dish.
I don't have a picture of this, but after all your apples are done add 1/3 c. sugar to the remaining liquid and cook, stirring, until the sugar is dissolved. Pour over the apples and refrigerate. At least overnight, the longer they sit the better the flavor!
And bon appétit! Happy Thanksgiving from all of us here at the Southern Stitcher!

Sunday, October 2, 2011

Green Gift Wrapping

Here's the thing about wrapping paper: it's not all that environmentally friendly and to me it just wastes money. You buy the paper, wrap the gift, and throw it away. Gift bags are a bit better since they can be reused, but they can only be reused for another gift. My mother has taken to giving gifts in pretty reusable shopping totes which is a fantastic idea. I have also seen cookbooks wrapped in dishtowels, a stack of towels wrapped in ribbons, and the ever popular gift basket. When it comes to babies I think it's fun to wrap in receiving blankets!

This weekend a friend and I threw a small baby shower for a neighbor who is having her first in a few weeks. We decided that since she had already had a couple of baby showers that we would just do a stock up baby "sprinkle" to get her going with a stash of diapers, wipes, and other baby items that disappear quickly with a newborn. I started with a package of size 1 diapers, a receiving blanket, and a diaper pin.
Open the blanket up and put the package of diapers in the center. Tuck the bottom up, bring the sides, in, and pull the top down like an envelope, pinning the flap so that it looks like an envelope.
And with just a few minutes and very little effort, you have a cute little gift that won't go to a landfill!

Thursday, August 4, 2011

A Tu-Tutorial!

Mistress Monstress will be three in a couple of weeks, and so I am in the process of working on things for her birthday party. If you've been following my blog for a while, you know that I am big on inexpensive birthday parties. Buggy's birthday last winter and The Professor's Birthday (also last winter) were both done on the cheap, and the kids had just as much fun as they would have had if we had spent a mint on their party. With that in mind, I started today working on the favors for MM's two party guests!

Ages ago, I decided on a theme for her party, and although I'm not going to share the theme quite yet, these tutus are going to be part of the favor bags and will tie in nicely with what I am planning. These could almost be no-sew, but I did stitch the ends of the elastic together. Anyway, I started by measuring MM's waist and cutting elastic that size. I overlapped the ends and stitched them together firmly. (lots of backstitching to make sure that it holds together! I forgot to take a picture, but you will get the idea in a couple of pictures. For the tutu part, I bought three rolls of 6 inch tulle in emerald green at Hobby Lobby with 25 yards per roll. It retails for $2.99 a roll and they were half off so I spent $4.50 in tulle. Elastic is cheap, I used 3/4 inch and one small package was enough for two tutus. I think it was $.79. So we're at just over $5 for two of them if you're keeping track!

Next, I cut strips of tulle that were 20 inches long. Lots and lots of strips. (The finished length will end up being 10 inches, which is perfect for a 3 year old. If your child is older, you may want to make the strips longer.) I would highly suggest some music to make the time pass faster. Take each strip and fold it at the center.
With your elastic pinned to the ironing board, loop each over the elastic and pull the ends through tightly. The first couple were a pain, but then I got into a rhythm.
Push each strip close to the next one, and repeat the process. A lot.
Continue all the way around until you have a finished tutu! This took me around an hour or so, and was really very easy once I got into a rhythm.
Paired with a flower headband from the $1 spot at Target, you have your first clue as to the theme of her party. Care to take a guess?
Check back in the coming weeks to see more projects from her party and find out the answer to the "What's the theme of Mistress's party?"

Friday, July 8, 2011

Trash to Treasure

A couple of months ago, I was in spring cleaning mode. This particular spring cleaning mode extended to the outdoors as well, and one sunny afternoon my neighbor and I were pulling weeds when I noticed that some things had been dumped at the beginning of the walking trail through the woods next to our home. Since we live in a new development it's not completely uncommon to find random construction leftovers here and there, so I went over to pick up the discarded wood scraps and put them in the trash. One of the pieces of board that I picked up was this:
It didn't look like much at first, but then I turned it over and my mind started whirling. I immediately thought of what I could do with it! I cleaned it up,
Painted it in 'gilded endive,' which is from Mistress's furniture, the family plaque, and a whole host of other things that I wanted to turn whiteish. (I am beginning to think that I will never actually run out of this paint, but I digress...) Three coats did the trick because I don't actually own primer.
Then I sanded it to rough it up a bit,
Distressed it with a hammer and some nails,
Used a bit of stamping ink to bring out the bare wood, (stain would also work)
And added tealights! I also put some felt pads on the bottom to protect the table. I can already see this at Christmas surrounded by fresh greens!
Total cost? $0!!! For the record, I think this is the top part of a railing. I like it better as a candleholder, what do you think?