 I don't know about you, but I LOVE Pottery Barn. Several months ago I was leafing through their catalogue and came across this pillow:
 I loved the simplicity of it, I loved the muted Earth tones, I loved the texture, but I didn't love the price tag of $49. That's a bit steepish for a pillow in my book. A few weeks later I was looking at the Ballard Designs catalogue (another favorite) and came across these pillows:
 Again, I loved the texture, the design, and the colors, but these were $59 apiece. So we've established that there is nothing wrong with my taste, but I figured that I could probably make a pillow that had the same look for a fraction of the price of the Pottery Barn or Ballard Designs pillows.
 Project: Freezer Paper throw pillow
Skill Level: Easy Peasy
Time: About an hour, more for drying time.
First, choose your word. I would say that 3-4 letters works best, 5 would be the maximum I would recommend for best results. Choose your font on your computer and enlarge your letters to your desired size. My letters are approximately 3.5 inches tall. Cut your letters out and lay them out on a surface that can be cut on. Tape them down securely.

Cover the printed letters with freezer paper, shiny side down. Tape down all edges to keep the freezer paper in place while you work.

Using an exacto knife cut out all the letters. Make sure to save any negative space, like the center of the 'O' in the word Home.

Place your cut out stencil on a piece of fabric. I chose to use osnaburg fabric. It has the texture of burlap but the weave is closer together to allow the paint to adhere better. It is also cheap, running $2-3 per yard full price. Iron the freezer paper to the fabric on a low setting, making sure to adhere the edges of the stencil.

Using a sponge brush, dab the paint on the fabric covering all the exposed surface. I used a chocolate brown color with a couple drops of black mixed in which gave it a more distressed look. DO NOT peel back your stencil until it is dry. It's hard to wait, I know, but if you do it when wet you will not have crisp edges, and your run the risk of getting wet paint on a part of the fabric that shouldn't have it or smearing your design.

When your design is completely dry, peel away the stencil and discard.

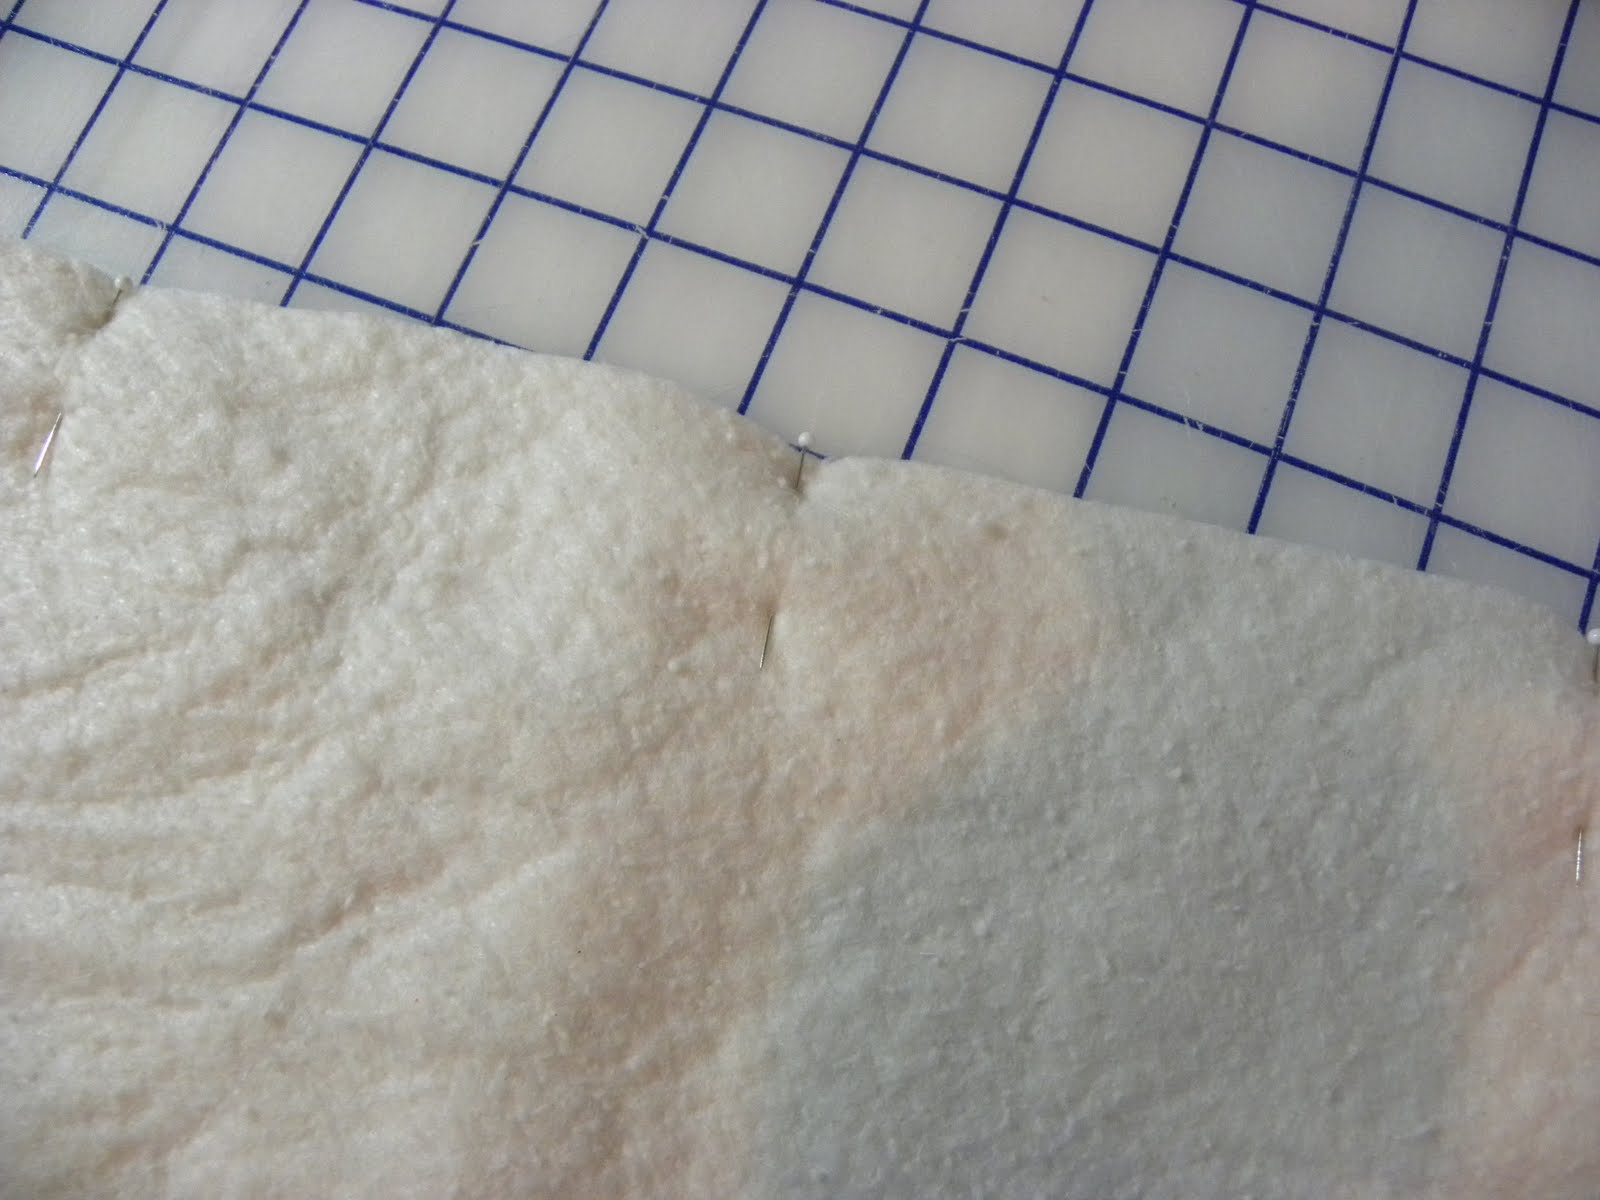
Cut out your pillow front. I added 3 inches on all sides of the word, so my pillow is 21 long by 10 tall. Cut a second piece for the back, and two pieces of Warm and Natural batting, all the same size.

Place your pieces together in this order:
1. First piece of batting
2. Your pillow front, word side up
3. Pillow Back, right side (if there is one) down.
4. Second piece of batting.
The batting serves to make the pillow less lumpy when you stuff it. If you are using a pillow form, skip the batting. Tip: Place pins of a different color and/or size at the bottom of the pillow so you can tell where the bottom is when you are stitching.
Stitch around the edge using a 1/4 inch seam allowance, leaving a place to turn the pillow right side out at the bottom. Turn right side out and stuff, hand stitch opening closed.

Fluff and put in your favorite chair! The best part? Here's the breakdown of how much my pillow cost to make:
Fabric: $1 (1/3 yard at $3 a yard)
Batting: $1 (1/3 yard at $3ish per yard)
Fabric Paint: $1 a bottle
Sponge Brush: $.39
Stuffing: $1.50 (1/2 bag at $3 per bag)
Grand Total: $4.89!
 So what do you think? Is it worth an hour of your time to make this pillow instead of spending $50-$60 to buy one just like it? It sure is in my book! Happy Sewing!
I'm linking to:
and


 Obviously the coloring books didn't fit into the little cellophane bags I had, so I just kept those separate. I put the crayons, two suckers, and one roll of smarties into each bag and tied them shut with twine.
 Next up, the cake. Only my oldest is the only child in the world who doesn't like cake. Seriously, he has never eaten any of his own birthday cake. Even on his first birthday he ate one bite and turned his head. Anyway, he likes cookies, and I was fortunate enough to have two sets of Star Wars cookie cutters from Williams Sonoma. My mother bought
  An assortment of cookies cooling...
 Hard to see, but they are sprinkled with sugar. Darth Vadar never looked sweeter...


